
Introduction
Activating a new backup service varies from service to service. This section details the process of creating a new Salesforce backup service. Before CloudAlly can access your Salesforce account, you need to enable API access in your Salesforce user profile by performing the following procedure:

Salesforce Preparation
Login to your Salesforce account.
Click Setup at the top of the page.
Under Administration Setup expand Manage Users then click Profiles.
Click Edit for the appropriate Profile.
Under Administrative Permissions check API Enabled, View All Data, and Modify All Data.

Add Salesforce Backup Task
Perform the following procedure in the CloudAlly web application to create a Salesforce backup:
Login to your CloudAlly account, if you haven’t done so yet.
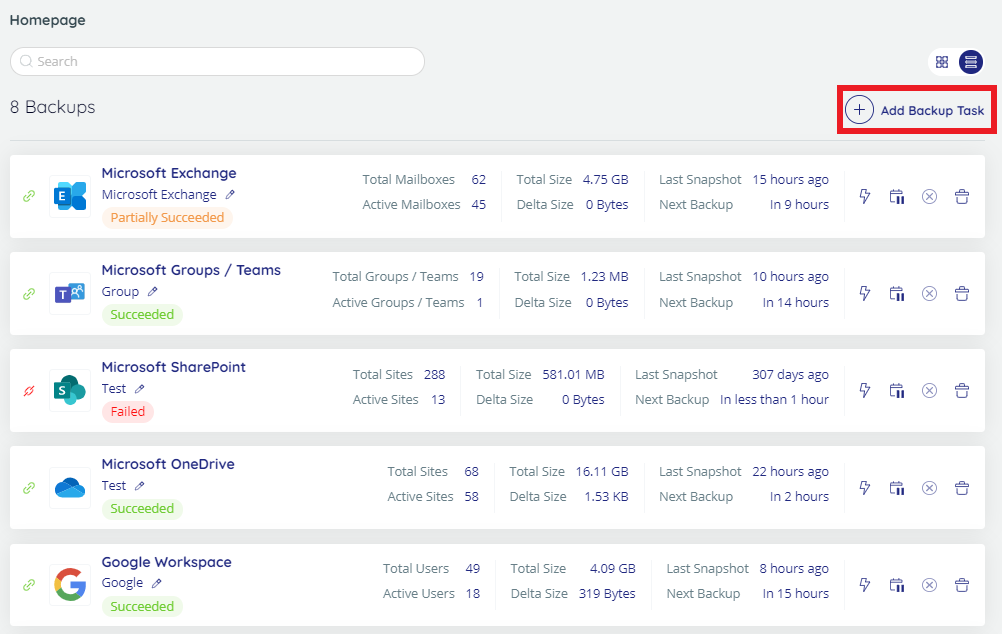
Click on + Add Backup Task in the Backups page Fill-in the name of the backup task. This name is used in the notifications and reports, and it can be changed later.
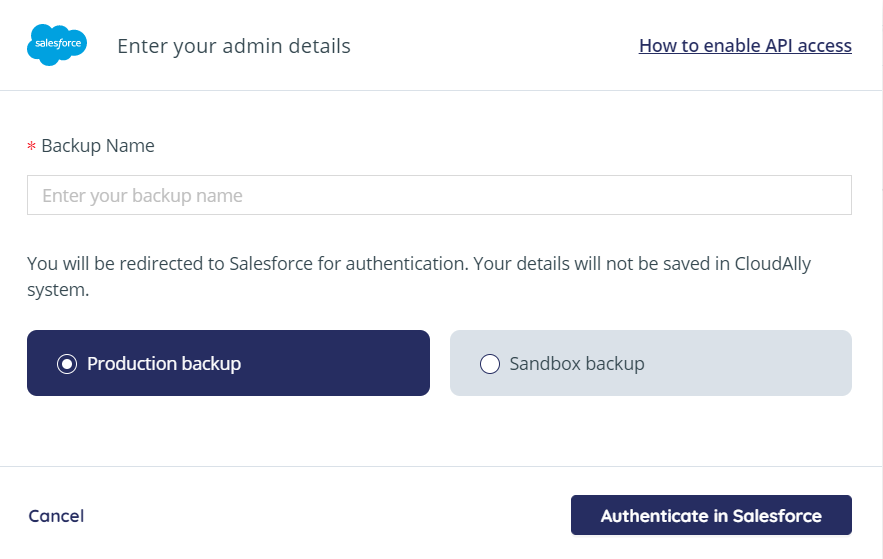
Click on the Salesforce option. The Salesforce Backup Task Settings screen appears:
Fill-in the name of the backup task. This name is used in the notifications and reports, and it can be changed later.
Select the radio button adjacent to the required Backup type. Available options are the following: Production backup, Sandbox backup. This option can’t be changed later.
Click Authenticate in Salesforce button to begin the authorization process. You will be redirected to the Salesforce authorization page. Click the Allow button from the Allow Access page.
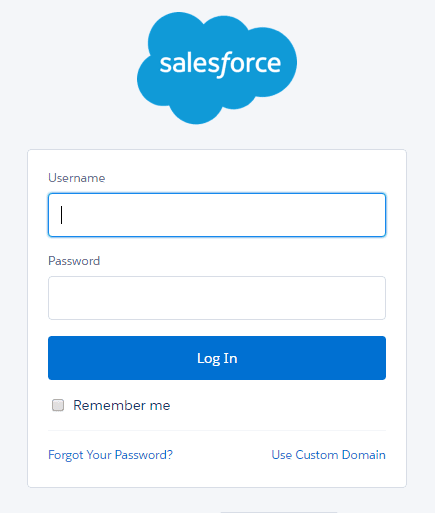
When prompted, enter your Salesforce Admin credentials from the Salesforce login screen and click Authorize.

Backup Task Page
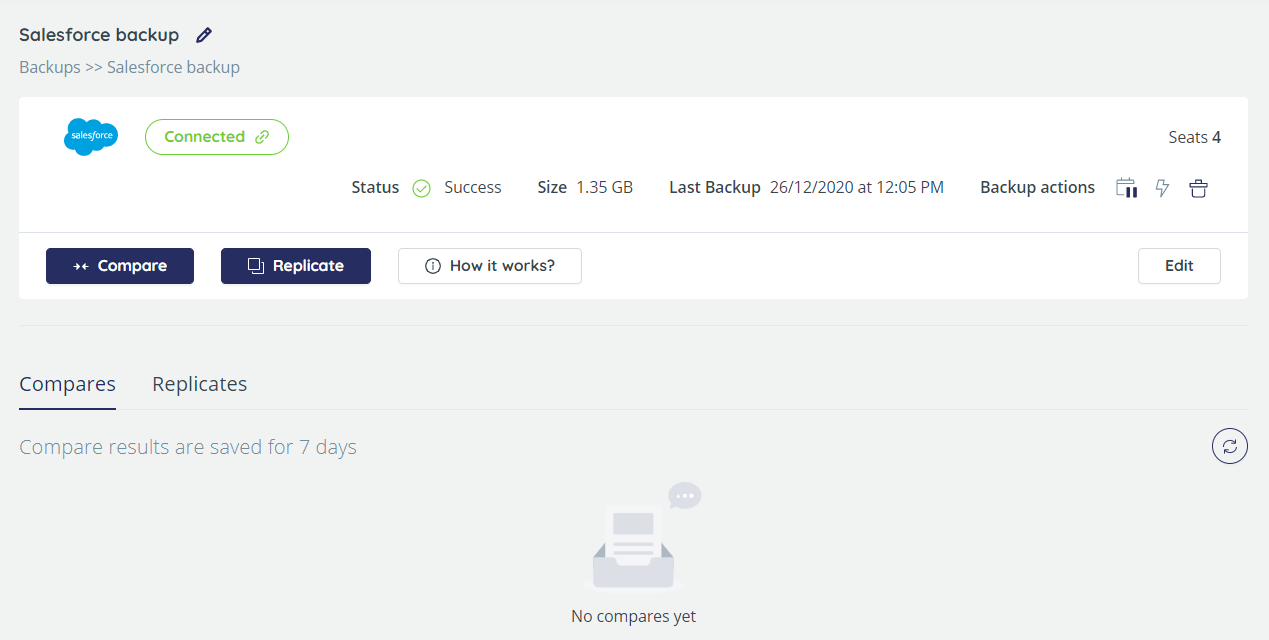
You will be redirected to the Backup Task page, where you can adjust the settings of the backup.
On this page, you can adjust the backup settings and activate data and metadata comparison tasks. Please see the sections below for the detailed procedures.

